Pokémon Tower Defense Walkthrough: Oak's Lab to Brock's Gym
Published · 3 min read
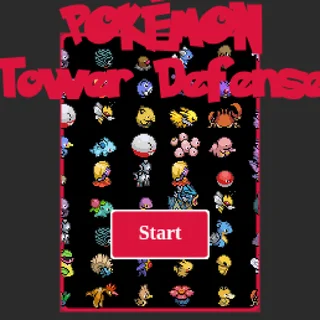
The Pokémon Tower Defense remake on this site covers the first chapter of the original Flash game, from Professor Oak's lab to the Pewter City gym. Each map is short, but each one adds something new. Here is what happens on every level and what to have ready before you start it.
Before level 1: the starter
After you type your name, Oak explains the world, shows you a Nidoran as an example and lines up the three starters. Click one to open its card. Charmander's card says it is Fire type and weak to Water, Ground and Rock. Squirtle and Bulbasaur have their own cards. Look at them before you press Select — the choice matters most at the very end.
Level 1 — Oak's Lab
Oak barely finishes talking when something crashes in: a pack of Rattata heading for the rare candies. The game explains the rules right there. Wild Pokémon walk toward the candies and steal them. Drag your Pokémon onto one of the grey spots and it attacks on its own. Click its party box to see stats and moves. When a wild Pokémon's health turns red, pick up the Poké Ball, hover over it and let go to catch it.
With only one Pokémon, placement is everything. The lab has spots near the middle and a row near the bottom. A spot where the Rattata pass close by, and early on their route, gives your starter the most time to attack. If the level goes badly, Oak says he can't believe the Pokémon he gave you wasn't strong enough. Level up and try again.
Level 2 — Viridian Forest
On the way to Pewter City, your trainer worries the forest will be as bad as mum said. It is — Beedrill come straight at you. This is the first level where you should have a caught Pokémon from the lab, so you have two towers. Spread them out along the path instead of stacking them at one corner, so the second one catches what gets past the first.
Level 3 — Viridian Pond
The forest is hot, so your trainer stops for a dip in a pond. Then more Pokémon come. By now your starter should be several levels up. Remember that Level Up costs the Pokémon's level squared in pokédollars, so the early levels are cheap. Spend what the forest paid before you start.
Level 4 — Pewter City Entrance
Out of the forest at last, and Team Rocket are waiting, Meowth included. It's the busiest map so far. Use every party slot you have filled and every spot on the map. When the Rockets lose, they announce they will be back, and the road to the gym is open.
Level 5 — Brock's Gym
Brock is impressed by your run-in with Team Rocket. He warns you he is a master of Rock-type Pokémon, and the cutscene shows Geodude and Onix. He also tells you that you can catch as many Pokémon as you are able to here. Rock resists Fire and hits it hard, so a Charmander-only team struggles. Water and Grass moves are what break Rock. If you picked Squirtle or Bulbasaur, this is where it pays off. If you picked Charmander, bring whatever you caught that isn't Fire, put it on the front spots, and keep Charmander further back.
After the badge
Clearing a level the first time unlocks the next one and gives you that level's Poké Balls. The level select lets you go back to earlier maps, which is the easiest way to earn pokédollars and experience for a Pokémon that is falling behind.
More from the blog
- Catching, Levelling and Starters in Pokémon Tower Defense
The real numbers: what a defeat pays, why Level Up costs level squared, when to throw your only Poké Ball, and how to build a six-slot party.